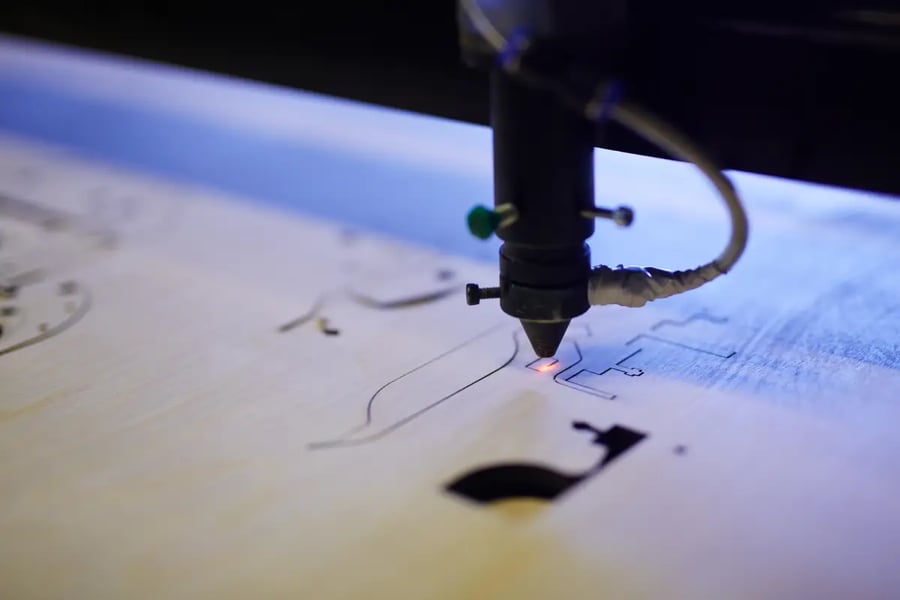
Laser engraving looks simple when watching someone else do it. A design is loaded, the material is placed, and a clean mark appears. Many beginners assume it works like a printer.
Then the first real project fails.
A wood tag burns too dark. A metal logo barely shows. Acrylic melts. A design starts in the wrong corner because the origin was not checked. Most beginner mistakes come from misunderstandings about materials, settings, focus, files, safety, and machine choice.
Why Beginners Misunderstand Laser Engraving
Laser engraving is not only about pressing start. The final result depends on material type, surface condition, focus height, power, speed, image quality, airflow, and the laser being used.
A setting that works on basswood may burn plywood. A clean mark on coated aluminum may fail on bare stainless steel. Beginners should treat every project as a test process, not a one-click job.
Misconception 1–2: Default Settings Work and More Power Is Better
Default settings are useful, but they are not universal. “Wood,” “acrylic,” or “metal” can mean many different surfaces. A small test grid is safer than guessing.
More power also does not always improve the result. Too much power can burn wood, melt acrylic, crack glass, or damage coated metal. Clean engraving comes from balancing power, speed, focus, and passes.
Misconception 3–4: Any Material Can Be Engraved and Prep Does Not Matter
Not every material is laser-safe. PVC, vinyl, unknown plastics, and some synthetic leather can release harmful fumes. If the material is unclear, do not use it.
Surface prep matters too. Dust, oil, rust, paint, coatings, warped material, or loose placement can ruin the mark. Clean, flatten, and secure the material before starting.
For beginners unsure where to start, practical laser engraver project ideas can help narrow the first few projects. A wood tag or acrylic sign is easier than unknown plastic or difficult metal.
Misconception 5–7: Focus, Calibration, and Machine Choice Can Wait
Focus is one of the biggest reasons projects look blurry or weak. When focus is wrong, lines widen, small text loses sharpness, and engraving depth becomes uneven.
Calibration matters too. Homing the machine, setting the origin, checking the frame, and confirming the work area prevent costly mistakes. A perfect file can still fail if the starting point is wrong.
Machine choice also matters. Some beginners believe any laser can handle any material with enough adjustment. This is risky with metal. A suitable laser engraving machine should match the material and workflow, not only the budget. Metal engraving, tool marking, coating removal, and surface work need the right machine type.
Q1 fits users exploring metal engraving and surface preparation. Xlaserlab describes Q1 as a 2-in-1 MOPA laser cleaner and engraver for rust, paint, coating removal, and precise metal engraving. Users still need testing, focus control, ventilation, and safety checks.
Quick Misconception Check Table
| Misconception | What Goes Wrong | Better Habit |
| Default settings always work | Burns or weak marks | Run a test grid |
| More power is better | Melting or damage | Balance settings |
| Any material works | Fumes or bad results | Confirm material |
| Prep is not important | Dirty or uneven marks | Clean and secure |
| Focus can wait | Blurry details | Set focus first |
| Software fixes bad images | Rough designs | Use clean files |
| Any machine can do any job | Failed metal marks | Match machine type |
Misconception 8–10: Files, Safety, and Records Are Optional
Software cannot fix a poor image. Use clean files and check spelling, size, direction, and placement before engraving.
Safety should start with the first project. Use ventilation, avoid unknown plastics, stay near the machine, and keep the work area clean.
Finally, save successful settings. Record material, thickness, power, speed, focus, passes, and results. A simple settings log helps beginners repeat good results.
Laser engraving becomes easier when beginners test first, prepare materials, check focus, use safe workflows, choose the right machine, and save what works.
Copyright © 2026 California Business Journal. All Rights Reserved.
For California Business Journal Disclaimers, go to /terms-conditions/.


