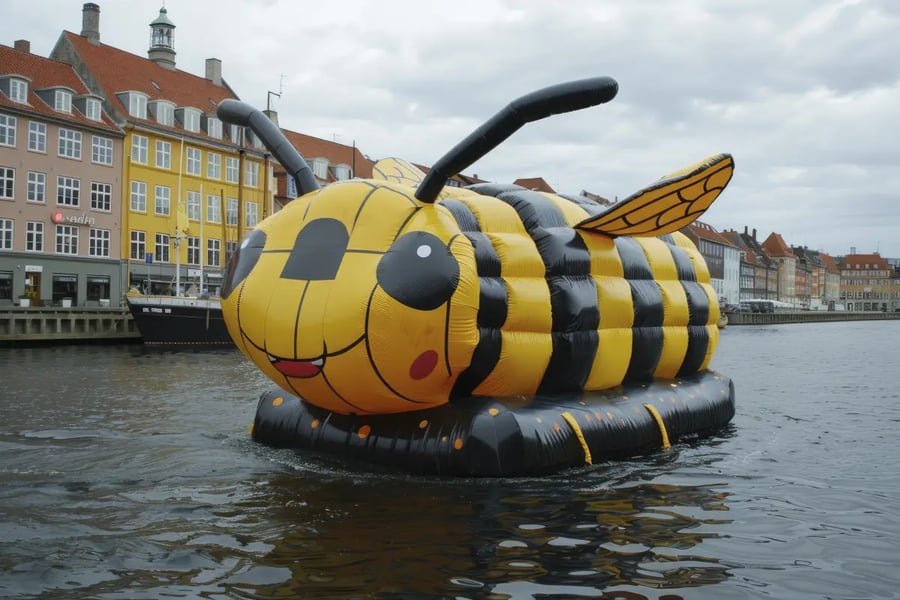
A sudden gust can turn a promotional inflatable from a brand asset into a liability in seconds. You've probably seen a tube man collapse or an arch tip sideways mid-event; it happens fast.
This guide walks you through anchoring methods, setup practices, and wind-monitoring strategies that'll keep your advertising inflatables stable and safe, whether you're running a street festival, a parking lot sale, or a multi-day trade event.
Choosing the Right Anchoring System for Your Inflatable
The anchoring method you choose determines everything else about outdoor inflatable safety. Get this decision right at the start, and you'll avoid scrambling on event day. If you are still in the planning stage, you can just click here to see how custom advertising inflatables are typically built with anchor-friendly base designs, tether points, and reinforced seams that make securing them far easier. Your base system depends on two things: the surface you're working with and the inflatable's size.
Ground Stakes vs. Sandbags
Ground stakes work best for grass or dirt surfaces. You drive L-shaped or spiral metal stakes into the ground at a 45-degree angle, then attach tether ropes or bungee cords from the stake to the inflatable's D-rings. For inflatables over 10 feet tall, stakes should run at least 18 inches long; space them at each corner anchor point. On compacted soil? Add a second stake beside the first for extra pull resistance.
Sandbags are your solution for asphalt, concrete, and any hard surface where stakes won't bite. Use 30- to 50-pound bags at each base loop and stack a second bag on top if winds run high. Look, commercially filled sandbags matter here; weight consistency isn't something you want to improvise.
Water Weights and Concrete Blocks
Water weights (ballast bags) offer portability for events where you're moving equipment between locations. Fill them on-site, and you keep transport loads light, though each filled weight typically ranges from 25 to 40 pounds, depending on the model. A 15-foot inflatable needs at least four filled water weights, one at each tether point.
Concrete blocks deliver the most mass and work well for semi-permanent setups at car dealerships or outdoor retail sites. Attach them with heavy-duty ratchet straps rather than basic rope; rope can slip under sustained tension. The catch is weight during transport, so concrete blocks fit fixed locations better than mobile event setups.
Tie-Down Ropes and Tether Angles
Your tether angle directly affects how much lateral force your anchors can resist. A 45-degree angle between the inflatable and the anchor point distributes wind load across both vertical and horizontal vectors; it outperforms a straight-down attachment every time. Use braided polyester rope rated for at least 500 pounds tensile strength, and skip nylon rope outdoors, it stretches under load and loses tension gradually. Run at least four tether lines for any inflatable taller than 8 feet, one from each corner; add a fifth line from the center-back if the inflatable is one-sided (like a logo or sign). Every two to three hours at day-long events, check tether tension; ropes loosen as materials settle under repeated wind cycles.
Reading Wind Conditions Before and During Your Event
Wind speed and direction change throughout the day. A forecast from the night before doesn't tell you what's happening at ground level near buildings or tree lines. Set up a plan before you arrive that accounts for real-time weather checks.
Safe Wind Thresholds for Common Inflatable Sizes
Most standard advertising inflatables rated for outdoor use handle sustained winds up to 20 mph without additional anchoring beyond standard setup. Between 20 and 30 mph, add supplemental tether lines and slightly reduce air pressure by 5 to 10 percent to let the inflatable flex rather than resist rigidly. For sustained winds above 30 mph, manufacturers recommend fully deflating and securing the unit. A 2023 survey by the Inflatable Industry Safety Group found that over 60 percent of inflatable-related property damage at outdoor events occurred at wind speeds above 25 mph. Often, the problem was simple: operators didn't monitor conditions after morning setup.
Tools for Real-Time Wind Monitoring
A handheld anemometer costs between $20 and $80 and gives you accurate on-site readings throughout the day. Phone apps alone won't cut it; they pull data from the nearest weather station, which may be miles away. Position your anemometer at the same height as your inflatable's midpoint for the most relevant reading. At larger events with multiple inflatables, assign one team member to take readings every 30 minutes and log them. The Kestrel 1000 and the AcuRite Wind Speed Sensor are two commonly used tools at outdoor event setups. Keep a printed decision chart on-site that clearly states the action steps at each wind threshold; that way staff won't have to guess.
Proper Setup Practices That Reduce Wind Vulnerability
How you position and inflate your inflatable matters as much as the hardware you use to anchor it. Poor setup magnifies every wind-related risk, and no anchoring system fully compensates for bad initial placement.
Positioning Your Inflatable to Reduce Drag
Place your inflatable so its narrowest profile faces the prevailing wind direction. A tube man or air dancer should face the wind head-on rather than sideways; that reduces the surface area exposed to lateral gusts. For arch or gate-style inflatables, orient the opening perpendicular to wind direction so air passes through rather than pushing against the flat face. Check the event site the morning of setup and observe where wind channels form between buildings, tents, or vehicles; these corridors produce wind speeds 20 to 40 percent higher than open-field conditions. And, if possible, avoid placing inflatables at the end of a building wall or in the mouth of a gap between two structures. A small positioning change often reduces wind load dramatically.
Inflation Pressure and Structural Integrity
Over-inflation is a common mistake that makes inflatables more vulnerable to wind, not less. A fully rigid inflatable can't flex with a gust; the energy transfers directly to the anchor points and seams. Most manufacturers recommend filling to 80 to 85 percent of maximum pressure for outdoor use in moderate wind conditions. Your inflatable's manual lists the PSI spec for your model; check it. Before any event, inspect the seams, zipper points, and tether D-rings for wear or stress marks. A compromised seam at 85 percent inflation in a 25 mph gust fails fast; catching it during the pre-event check takes 10 minutes. Skipping that check can cost you the whole unit.
Conclusion
Securing advertising inflatables during windy outdoor events boils down to three things: the right anchoring hardware for your surface, real-time wind monitoring throughout the day, and thoughtful positioning that minimizes drag from the start. Use correctly angled tethers, appropriate anchor weights, and check your setup every few hours as conditions shift. Know your wind thresholds before you arrive, and have a clear deflation plan ready if sustained gusts push past 30 mph. A little preparation protects your investment, your brand, and anyone nearby.
Copyright © 2026 California Business Journal. All Rights Reserved.
For California Business Journal Disclaimers, go to /terms-conditions/.


